
A window quote and a siding quote can look like separate projects until both crews need to work on the same trim. Before you replace either, make a plan for the edges around each opening: what stays, what comes off, who checks the condition underneath, and who completes the finish. For Southeast Michigan homeowners, that conversation can help prevent an attractive exterior update from leaving an unresolved repair between trades.
Start with the location of the problem
Exterior trim includes the boards or formed coverings around windows, doors, corners and roof edges. A peeling window casing is a different observation from a loose fascia board beneath a gutter. Record the location rather than assuming every damaged-looking piece needs the same treatment.
From a safe position on the ground, take an overall photo and a closer photo of the affected area. Note stains, open joints, loose coverings or a finish that repeatedly peels. Tell the estimator whether you have noticed indoor staining near the same opening. Photographs help define the conversation, but cannot show whether concealed wood or the wall assembly is sound.
If water is actively entering, make that clear when requesting help instead of treating the project as a color update. Avoid climbing or removing cladding to investigate yourself; ask the contractor what an evaluation can establish before materials are opened.
Separate finish work from underlying repairs
A proposal should distinguish the visible trim from anything that supports it or manages water behind it. Repainting, replacing a board, wrapping existing trim, and repairing an opening are different scopes. Ask which condition the contractor expects and how the recommendation changes if the material underneath is damaged.
Covering an old surface does not answer whether it is suitable to remain. Before agreeing to trim wrapping or capping, ask what will be checked and which repairs must happen first. Request a written description of areas excluded from the price so that a neat finished edge does not hide an unresolved responsibility.
Ply Gem’s trim installation guidance notes that cladding and trim are not a watertight barrier. The important homeowner question is how the window, flashing and wall’s water-management layers work together—not simply which caulk will be used. Installation details must follow the selected products and the actual wall construction.
Read Ply Gem’s trim installation guidance
Decide whether the existing window frame will stay
If windows are part of the plan, ask the estimator to identify the replacement method for each opening. An insert approach retains portions of the existing assembly; a full-frame approach changes more of it. That distinction affects which trim may be disturbed, how the opening can be evaluated, and the finishing work to include.
Damaged exterior trim alone does not prove that the entire window must be replaced. Equally, a window that operates normally does not establish that the surrounding materials are sound. Ask for separate findings about the window and its opening rather than treating one as a diagnosis of the other.
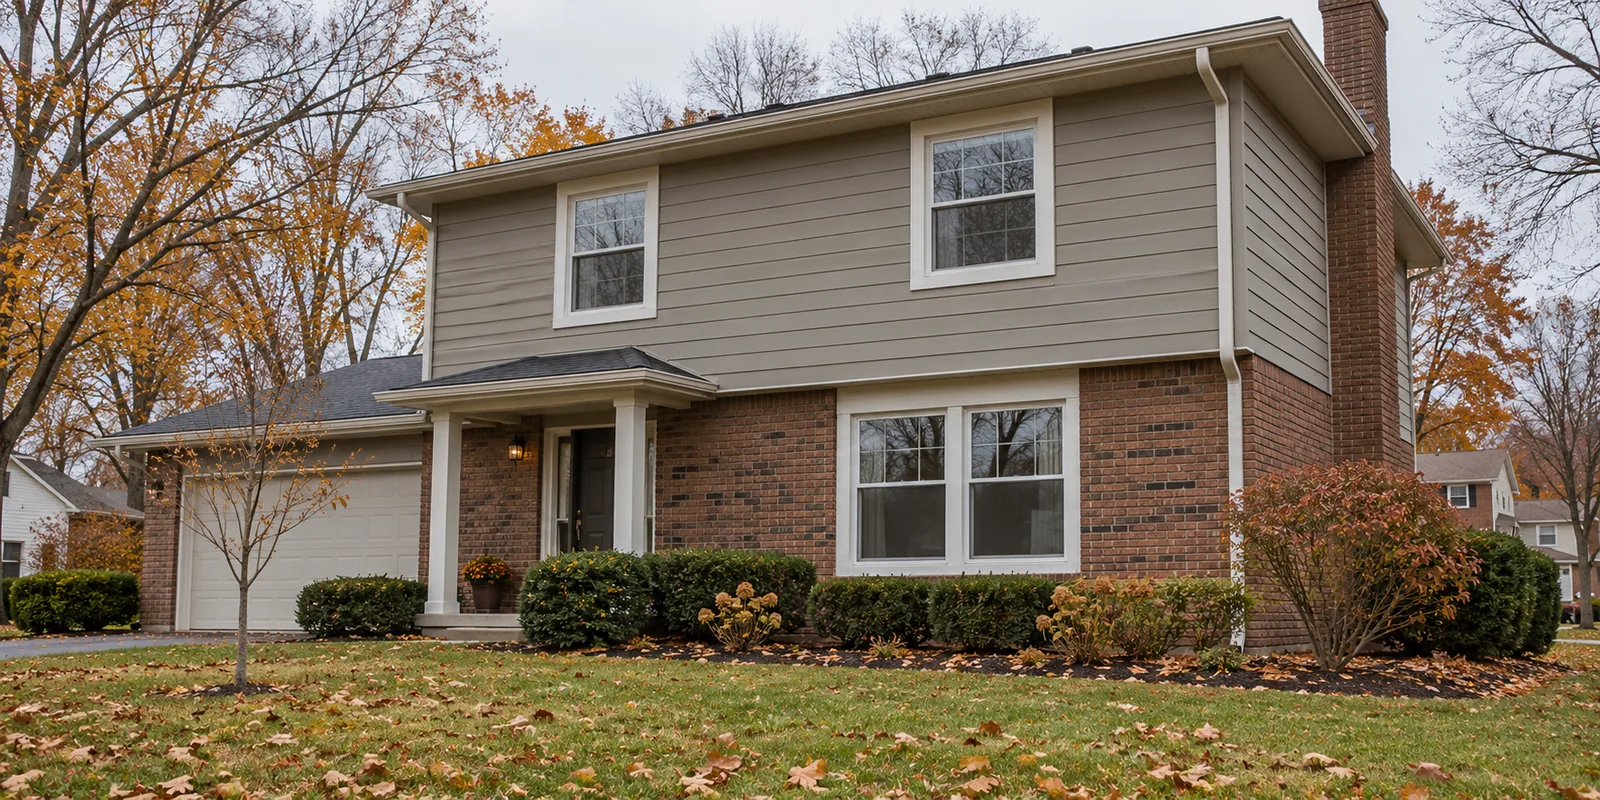
For an older bungalow, a brick ranch or a later suburban colonial, document the details that matter to your home: casing width, exposed brick edges, existing siding profile and any interior trim you hope to retain. DeWitt serves all of Southeast Michigan; the proposal should respond to the individual house, not assume one installation method fits the whole region.
Compare insert and full-frame window installation scope
Ask for a sequence, not just two start dates
When siding and windows are both being considered, tell each estimator before you approve either scope. Ask how the work around openings will be coordinated, which materials will be temporarily removed, and who is responsible for the finished transition. There is no useful universal sequence without knowing the products, opening condition and installation method.
If the projects will happen in different seasons, ask what the first project will leave ready for the second. The first phase should have a complete protection and finishing plan of its own. Record whether later work may disturb new trim or require matching materials; do not assume a future crew can reuse everything.
As fall work moves toward winter, discuss how any exposed areas will be protected between stages and what happens if the schedule changes. Ask which product instructions govern installation conditions. A calendar date by itself is not a promise that every material or application is suitable that day.
Put these details in the written scope
Use an opening-by-opening list if different parts of the house need different work. These questions make two proposals easier to compare:
- Which windows, trim sections and siding areas are included, and which remain untouched?
- What trim material, profile, width and color are specified? Who approves the visible match?
- Who removes and reinstalls siding, shutters or other items that block access?
- What inspection is included before covering the opening, and what cannot be known until removal?
- How will additional damage be photographed, priced and approved before work proceeds?
- Who coordinates flashing and water-management details at the window-to-wall transition?
- Who handles interior finishing, exterior painting where required, cleanup and the final walkthrough?
- Which product and installation warranty documents apply to this particular scope?
Can you replace just the damaged trim?
Sometimes a limited scope may be appropriate; sometimes the evaluation points to work beyond the visible board. Ask what evidence supports the recommendation and whether nearby areas need further investigation. A broad replacement should have a clear reason, and a small repair should have clearly stated limits.
If budget requires stages, prioritize the findings with the contractor and keep a record of selected materials. Later availability and color matching should be discussed, not guaranteed. Compare total scope and finishing responsibilities before assuming that the smaller initial price represents the same work.
Build a practical plan for replacing windows in stages
Bring your project plan to DeWitt
For a free estimate, gather photos of the affected areas, the windows you are considering, any existing written quotes and your preferred timing. DeWitt can discuss siding and replacement-window options for your Southeast Michigan home, including project priorities and available financing options.
Have a quote? DeWitt will beat it.
Applies to written quotes from licensed and insured contractors for comparable materials, installation scope and warranty coverage.
Explore siding replacement with DeWitt
Explore replacement windows with DeWitt
Review DeWitt’s quote comparison offer
This article provides general information. The condition and requirements of each home are different, and an on-site evaluation is needed for a project-specific recommendation.